
Today I'm starting (another) monthly segment on the blog : D.I.Y !
It all started when I happened upon this lovely D.I.Y book at the library the other day and fell
in love with every project immediately! This book is full of fashion-forward and budget-friendly ideas using things that you already have in your closet! After sifting through various options for
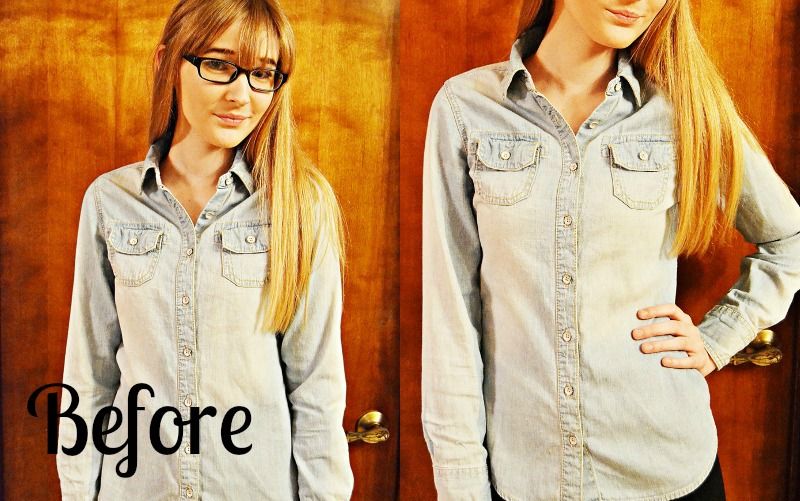
this post, I decided to update my boring denim button down by adding some chic silver studs
to the collar and back. Enjoy!
You will need the following ::
- denim button down top
- pronged studs (in either gold or silver)
- needle-nose pliers
Let's get started!


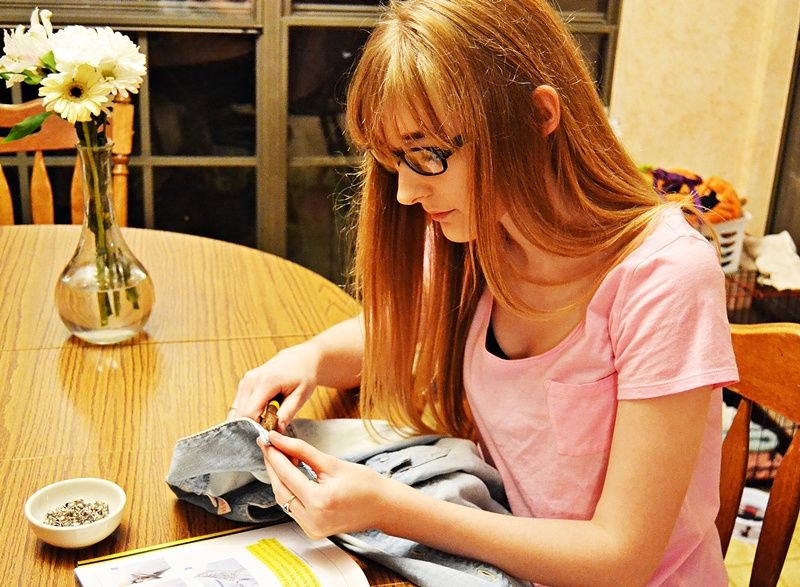
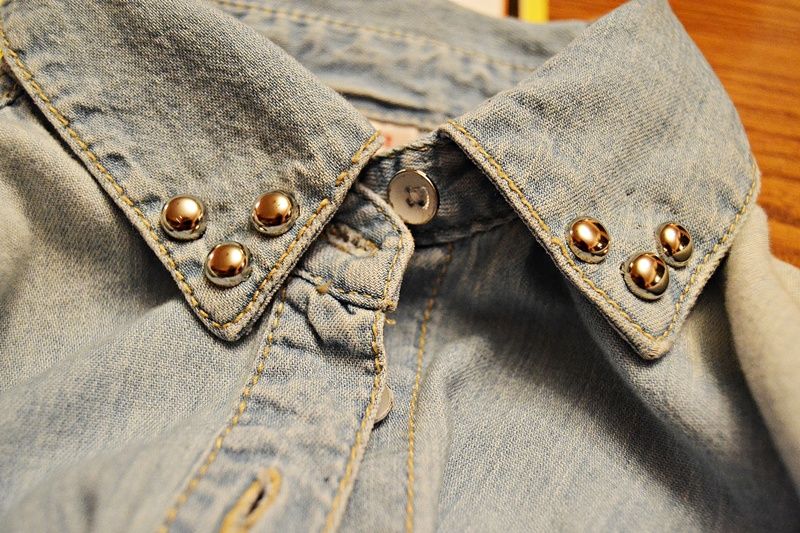
Step 1 // Start off by choosing the spot on the collar where you'd like to start applying the
studs ( I would recommend the corner ) I chose to only add three on each corner instead of
decorating the entire collar simply because I thought it looked more expensive ( and the craft
store near my house only carried one type of studs)
Step 2 // After decorating the collar I decided to give this button-down a little more oomph
by adding some studs to the back to complete this project.


Hope you enjoyed my first ever D.I.Y post! Here is the finished product! I will be featuring
this denim top in my next 'Wear It Three Ways' post! Stay tuned...
I highly recommend this book and all of the projects in it whether you're a beginner ( like
me ), or a pro; it's a great source of inspiration and I will be using it in later posts for sure!
Follow me on.....
:: Facebook | Tumblr | Bloglovin' | Pinterest | Instagram ::

You did an amazing job - this totally looks store bought! xE
ReplyDeleteAmazing how a few studs can totally revamp a shirt, great job!
ReplyDeleteCee. ♥
Code Overdressed
I really like this diy, great job. :)
ReplyDeleteWhenever I think of a DIY involving studs, denim cutoffs covered in metal come to mind... but this is so subtle and elegant, I just love it! Beautifully done :)
ReplyDeletexox,
Cee
The make over of the denim top is great, love the studs and the new look of the project. Aside from studs, you can also use Discount rhinestones as a design with elegance to decorate your projects.
ReplyDelete